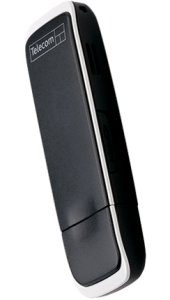
 Given that I’m rocking Ubuntu 10.04 on my beloved ASUS EEE 1005PE, I had a need to be able to use my Telecom XT T-Stick (a.k.a. ‘ZTE Corporation MF636 HSUPA USB Modem’) via Ubuntu.
The issue with these particular devices is that they respond to the system by default as a CD drive or USB hub so Ubuntu (with the stick in it’s native form) doesn’t see it as a modem device.
To turn off the function, and make the device a nice simple USB modem, you can do some jiggery pokery using ‘usb_modeswitch’ to switch off the autorun feature…
OR
you can send the AT command “AT+ZCDRUN=8†to the modem.
I chose option two and used a windows machine with a terminal client, but for anyone wanting to avoid using windows, you can achieve the same result* using minicom (sudo apt-get install minicom)
*let me know if you choose to do this as it’d be nice to include the command lines used for completeness of this guide.
On the Windows machine:
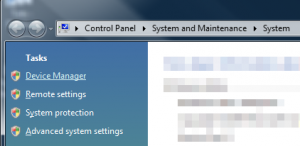
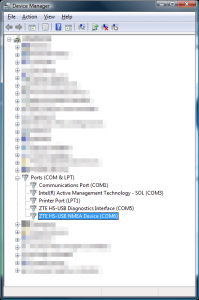
Get the COM port where the device is sitting
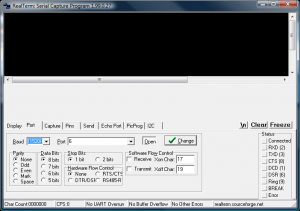
You can then use Hyper Terminal or any other program which will give you access to the USB modem device and allow you to send control strings.
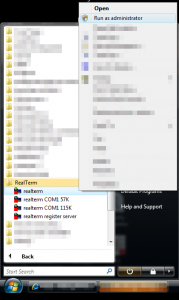
I’m using RealTerm (my installation of Windows was lacking Hyper Terminal), but the configuration and control strings are the same regardless of what you end up using.
Running RealTerm
NOTE: If you need to restore the multifunction option (e.g. you plan to use the device on a new windows machine and want the drivers to be loaded from the TStick) you will need to repeat the steps above, and send the AT command:
AT+ZCDRUN=9
On the Ubuntu machine
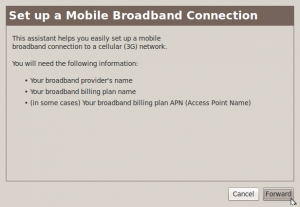
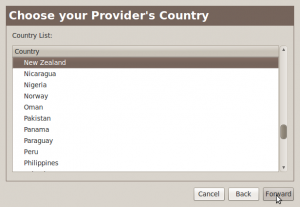
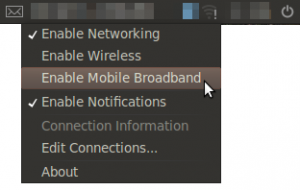
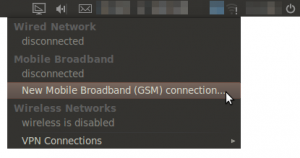
From here on in, things are pretty obvious:
|
 |
 |
 |
 |
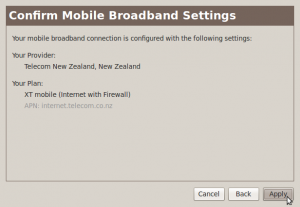 |
 All things being equal, you should then be connected to the Mobile network via your T-Stick and you’ll be able to enjoy is speedy speeds of Telecom XT on your Ubuntu laptop.
Happy mobility!


Comments
One response to “Getting an XT USB Modem working in Ubuntu”
[…] mother runs Ubuntu (Lucid) on her laptop and she needed to make her NZ Telecom USB modem work. Getting an XT USB Modem working in Ubuntu provided a great starting point but there were a few things I had to do differently. I recommend […]