Now the EEE has been out for awhile (it’s even advertised in NZ retailers such as JB HiFi!) there’s a few more places to go for help, and a lot more people who are smarter than I am working as part of the community to bring these hints and tips together.
I’ve recently found Ubuntu-eee and will be using that as my base for this installation. However, as I’ve progressed through the wiki, I have found some items which are contradictory and some which just plain do not work. Because of this I will capture a snapshot of what I did at the time of install but if you are following this as a guide for your own configuration, you may want to revisit the wiki to see what, if anything, has been updated or clarified.
My Configuration
- ASUS EEE 701 (4GB / 512MB / WiFi )
- 8GB SD Card (Transcend SDHC 8GB)
- External CD/DVD Drive
- Wired Ethernet Connection
External CD Install
I’m fortunate enough to have a USB CD/DVD drive so I will be using that as my source for this installation, previously I have used the PenDrive Linux Guide which installs from a USB stick.
Preparing the EEE
- If you haven’t already, you will need to boot your EEE and hit
to enter the BIOS setup. - Go to the ‘Advanced” screen in the BIOS and set ‘OS Installation’ to ‘Start’
- Go to the ‘Boot’ screen and select ‘Boot Device Priority’
- Set the first boot device to ‘Removable Dev.’ , the second to ‘ATAPI CD-ROM’ and the third to ‘HDD:SM-SiliconMoti’. (This will get your EEE to boot from a USB stick, then a CD-ROM and finally, if neither of those options exist, from the internal solid state drive.)
- Hit
to save and exit and position your finger over the key
When you see the EEE Splash Screen, hit
The Ubuntu Live CD will start and the Default option to Run/Install Ubuntu will be chosen after a default timeout.
Installing from Ubuntu Live
The first thing you will want to do is to disable compviz which, while it allows for pretty effects on the screen, it also doesn’t allow you to drag a window past the top border of the screen. With the EEEs funky resolution, we will need to grab some windows with an
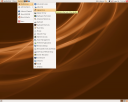
- From the top panel bar, click ‘System’ > ‘Preferences’ > ‘Appearance’
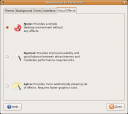
- From the ‘Appearance Preferences’ dialogue box which appears, click ‘Visual Effects’ and select ‘None’


You should now be able to use
Now it’s time to start the install. Make sure you have backed up ANYTHING you still want from your original EEE configuration because we’re going to blow the whole lot away.
- Go back to the step above and actually back up those files
- Seriously, this is your last chance to reboot into your original configuration and grab those files – do it now then work your way back to this point.
- Click the ‘Install’ Icon
- Select your install Language (English)
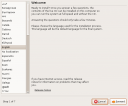
- Select your Region (Auckland, New Zealand)

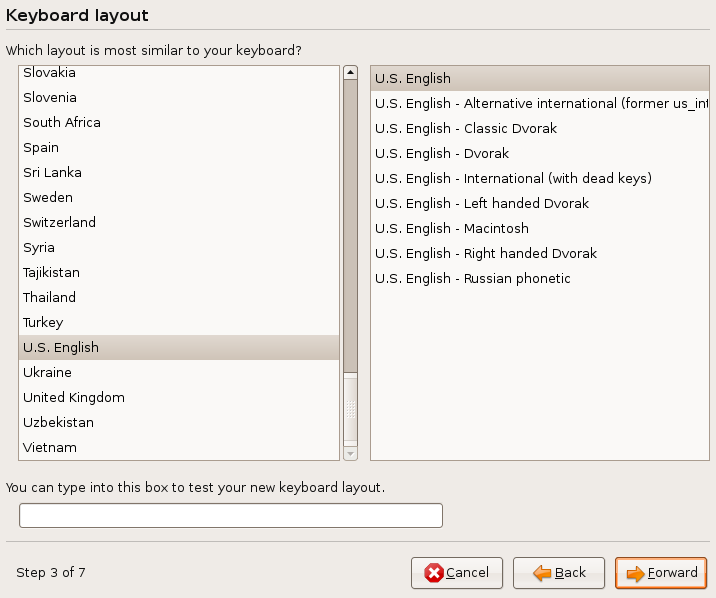
- Select your KB layout (US English)

- Set up the disk partitions (Manual)


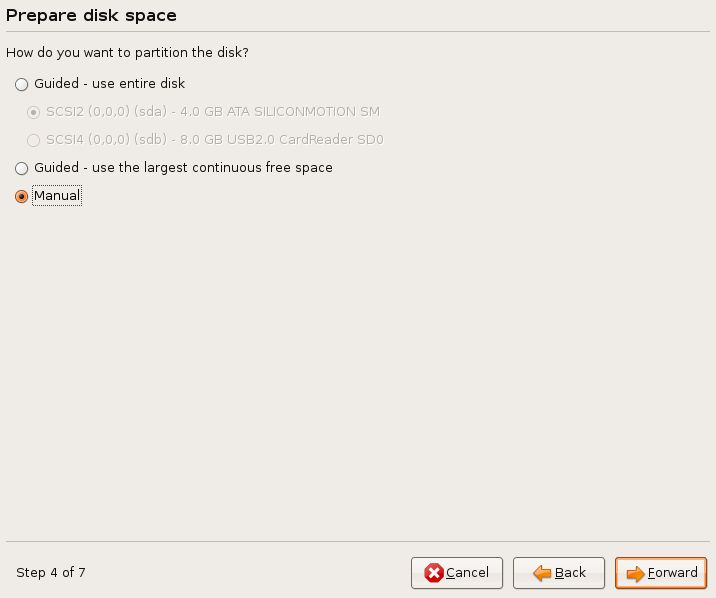
We’re choosing manual because this is a solid state device and there are some things we need to do to try and preserve the life of the flash media, including changing the defaults for the file systems and setting the swap to another ‘disk’
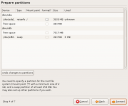
I decided to break the internal disk into 3.5GB + 0.5GB partitions, the 3.5 partition (/dev/sda1) needs to be set to type ‘reiserfs’ and the mount point ‘/’ given to it. I want to have my swap file on my SD card (/dev/sdb), mainly because they’re way cheaper to replace and also, because I want to see if it can be done. Set /dev/sdb to primary, 500MB, end and make it of type ‘swap’.
- Your partitions should now look a little like this
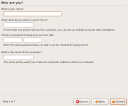
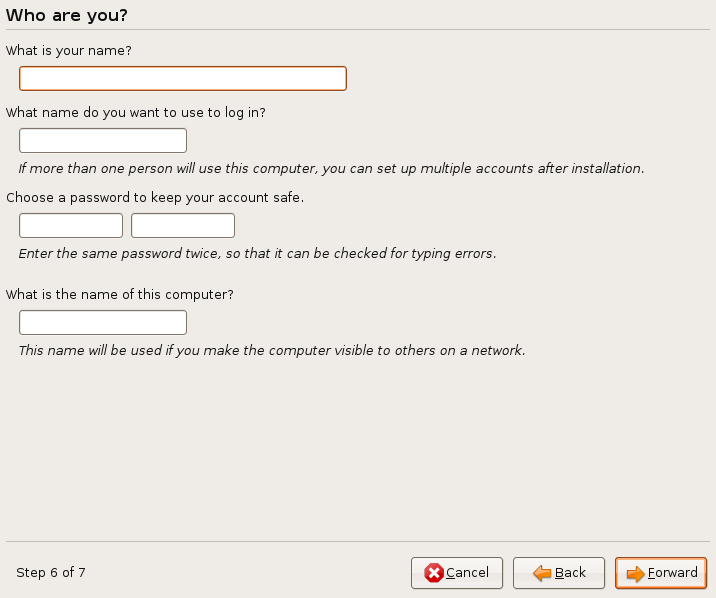
- Enter your personal details
- Confirm what you’re about to do (you *did* remember to backup those files right?)
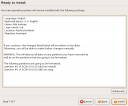
- Click install, and go have a decent coffee, the next bit takes a while.
- Once complete, restart (and don’t forget to remove the CD)


The First Boot
On logging in for the first time, you will likely see two warnings, the first of which shows you the battery may be broken or discharged. You can safely ignore this as the battery will calibrate itself over the next while. You will also see a ‘Restricted Drivers’ notification regarding the internal network card – this can also be safely ignored.
- From the top panel bar, click ‘System’ > ‘Preferences’ > ‘Appearance’
- From the ‘Appearance Preferences’ dialogue box which appears, click ‘Visual Effects’ and select ‘None’
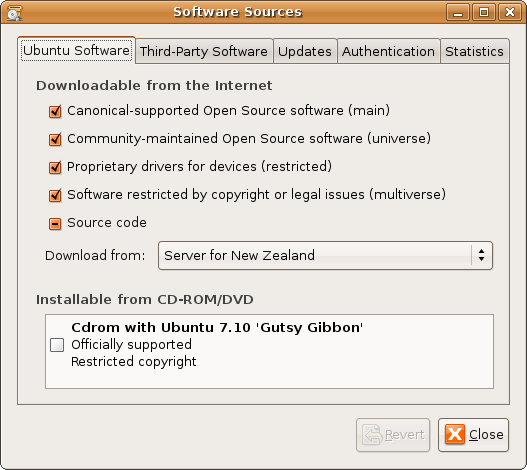
- Check you’re using the appropriate sources ‘System’ > ‘Administration’ > ‘Software Sources’

- On the ‘Ubuntu Software’ tab, uncheck the CD-ROM

- On the ‘Third-Party Software’ tab, check the canonical gusty partner box
- Other option changes and sources that you want can be performed at this point.
- Close the sources dialogue box and allow the repository to update itself if relevant.


At this point you can consider yourself done – from this point on we’re looking at tweaks to the system.