 We’ve just had some work done on one of our systems (which runs from a Raspberry Pi v2) so, aside from the config file backups that we can collect from the systems interface, I thought it would be prudent to grab an image backup.. this is how it was done:
Plug in your backup destination.
In this case it was an 8GB USB stick. For obvious reasons, it is a good idea to make sure the destination is larger than the (utilised) capacity of your pi SD card.
SSH into your Pi
We now need to find out what your USB device has been detected as. To do this, we will run the command blkid
blkid

The list of storage devices will be displayed and from there we can determine that (in this case) our USB is connected as /dev/sda
Mount the USB drive
Before we can use the device, we need to mount it. To do this simply, we can use this command:
mount -t auto /dev/sda /mnt
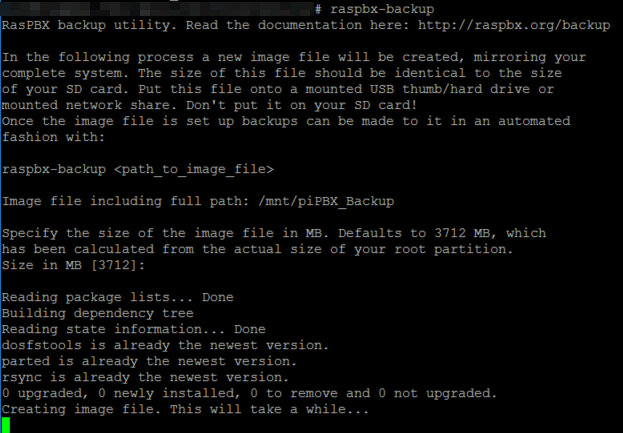
Start the Backup
raspbx-backup
and enter the location to save the file
/mnt/piPBX_Backup
Unmounting the Drive
Just like on a Windows machine, USB devices have to be prepared BEFORE they are removed so the operating system can finish writing any open files and you don’t end up scrambling the contents of your device. To do this on our pi, we issue the unmount command as follows:
umount /dev/sda
where sda is the /dev/ location we detected at the start of this process.
Now, go store that backup somewhere SAFE 🙂